Upgrade your bathroom hygiene and efficiency with a bidet toilet installation using Toilet Installation Tools Toledo and following the toilet installation process. This DIY project involves removing old toilets, preparing new spaces, connecting water lines, ensuring drainage, and installing modern bidets with remote or app controls. Essential tools include hand tools, measuring equipment, and safety gear for safe demolition and precise measurements. Properly prepare plumbing infrastructure and follow manufacturer guidelines for a secure fit. Achieve a perfect fit through meticulous measurements, and enjoy personalized comfort and improved hygiene with your new bidet toilet.
Consider upgrading your bathroom with a bidet toilet—a modern comfort that promises hygiene and luxury. This comprehensive guide walks you through the entire DIY toilet installation process, from gathering the essential Toilet Installation Tools Toledo to final touches. We break down each step, ensuring a smooth transition to this innovative toilet installation process. Learn how to demolish, prepare, install, adjust, and maintain your new bidet toilet with ease.
- Understanding the Bidet Toilet: A Modern Comfort in Your Home
- Gather the Essential Toilet Installation Tools Toledo
- Demolition and Preparation: The First Steps of DIY Toilet Installation
- Installing the Bidet Component and Water Lines
- Adjusting for a Perfect Fit: Ensuring Proper Functionality
- Final Touches and Maintenance Tips for Your New Bidet Toilet
Understanding the Bidet Toilet: A Modern Comfort in Your Home

A bidet toilet is a modern addition to any home, offering a level of comfort and hygiene that traditional toilets simply can’t match. Unlike their conventional counterparts, bidets provide a gentle, splashing water cleanse, enhancing personal cleanliness and contributing to better overall health. This innovative fixture has gained popularity worldwide due to its environmental benefits – it uses water more efficiently than regular toilets – and its ability to elevate the everyday act of using the restroom into an indulgent experience.

Installation of a bidet toilet is not as daunting as it may seem. With the right toilet installation tools Toledo and following a straightforward DIY toilet installation process, you can transform your bathroom in no time. The toilet installation process involves removing the old toilet, preparing the bowl and base for the new bidet, connecting water lines, and ensuring proper drainage. Many modern bidets also come with remote controls or integrated apps, allowing for easy temperature and pressure adjustments, further enhancing user experience.
Gather the Essential Toilet Installation Tools Toledo
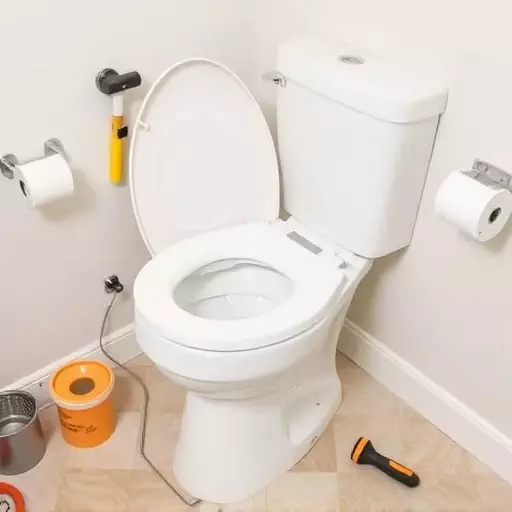
When embarking on a DIY toilet installation project in Toledo, ensuring you have the right tools is paramount to a smooth and successful process. The essential Toilet Installation Tools Toledo include various hand tools like wrenches (adjustable or pipe), pliers, screwdrivers (both flathead and Phillips), and a level. Additionally, you’ll need measuring tape, a utility knife, and a collection of different size screws and bolts commonly used in plumbing fixtures.
These tools are crucial for tasks such as removing the old toilet, measuring and marking the new toilet’s position, attaching water lines, securing the toilet to the floor or wall, and ensuring proper leveling. Having a comprehensive set on hand allows you to confidently navigate the Toilet Installation Process, making your DIY project a rewarding experience.
Demolition and Preparation: The First Steps of DIY Toilet Installation
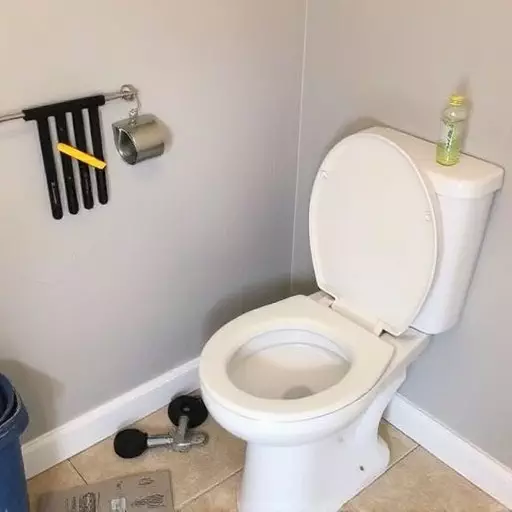
Demolition and preparation are crucial initial steps in any DIY toilet installation. This involves carefully removing the old toilet and preparing the existing plumbing infrastructure for the new bidet toilet. The process begins with gathering the necessary toilet installation tools Toledo and donning appropriate safety gear, such as gloves and goggles. Next, you’ll need to shut off the water supply to the toilet and disconnect the drain pipe, ensuring a safe and controlled demolition process.
With the old toilet removed, it’s time to assess and prepare the floor and plumbing connections. This may involve levelling the floor, repairing or replacing damaged tiles, and ensuring that the new bidet toilet’s dimensions align with the existing space. Proper preparation is key to a smooth toilet installation process, guaranteeing a secure fit and optimal functionality of your newly installed bidet toilet.
Installing the Bidet Component and Water Lines

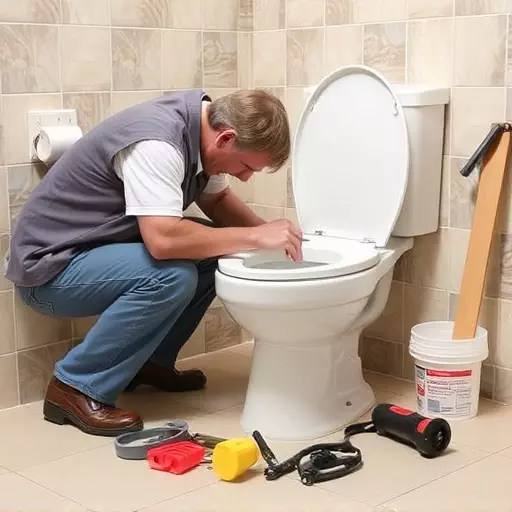
Installing the bidet component is a crucial step in the toilet installation process, particularly for those embracing DIY toilet installation. It requires a set of specific tools tailored for this task, such as adjustable wrenches, pliers, and pipe cutters. The first step involves connecting the bidet’s water lines to your home’s plumbing system. This entails carefully tracing the appropriate pipes and ensuring seamless fittings to maintain water pressure and prevent leaks.
Once the water lines are secured, the bidet unit itself can be attached to the toilet bowl or the floor, depending on the model. Proper alignment is key to ensure a stable installation. DIY enthusiasts should follow manufacturer guidelines meticulously, taking into account any necessary adjustments to accommodate different toilet sizes and configurations. This meticulous approach guarantees a secure fit, enhancing both functionality and aesthetics in your restroom.
Adjusting for a Perfect Fit: Ensuring Proper Functionality

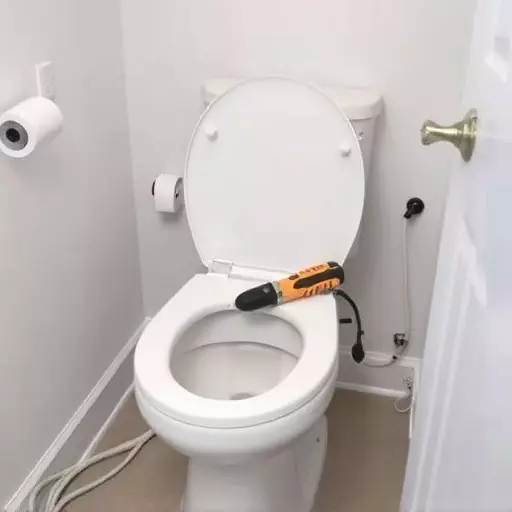
When installing a bidet toilet, achieving a perfect fit is crucial for ensuring proper functionality and preventing future issues. The first step in this process involves measuring your existing toilet space precisely using Toilet Installation Tools Toledo. This includes gauging the dimensions of the toilet base, the distance to nearby walls or fixtures, and accounting for any potential obstructions. Accurate measurements are vital as they guide you through the entire installation process, ensuring a seamless fit for your new bidet toilet.
DIY toilet installation requires careful consideration of these factors. The Toilet Installation Process demands precision, especially when aligning the bidet’s water connections and electrical components. Proper functionality hinges on secure attachments, so double-checking measurements before purchasing your bidet is wise. With the right tools and meticulous planning, you can successfully navigate this DIY project, reaping the benefits of enhanced hygiene and comfort.
Final Touches and Maintenance Tips for Your New Bidet Toilet

Once your bidet toilet is fully installed and connected to water and waste lines, it’s time for the final touches. This includes adjusting the seat height and angle for maximum comfort, ensuring the bidet nozzle is positioned correctly for a precise spray, and testing all settings to find your preferred level of warmth and water pressure. Remember to also familiarize yourself with the control panel and various modes offered by your new toilet, allowing you to customize your experience.
Regular maintenance will keep your bidet toilet in top condition. This includes cleaning the nozzle and seat regularly to prevent buildup and ensure a hygienic experience. Use mild, non-abrasive cleaners and follow manufacturer guidelines for best results. Additionally, schedule periodic checks of the water connections and lines for leaks or blockages, addressing any issues promptly to avoid damage or flooding. DIY toilet installation can be rewarding, but understanding these final touches and maintenance practices ensures your bidet performs optimally for years to come.