Toilet installation in Toledo can be a successful DIY project with the right Toilet Installation Tools Toledo and knowledge. Start by removing the old toilet, leveling the new one, and securing it. Connect water lines according to manufacturer instructions, check for leaks, and replace parts. Double-check each step with Toilet Installation Tools Toledo to avoid common mistakes that could lead to costly repairs. Final checks include adjusting flushing mechanisms, verifying no leaks, and testing the toilet's operation.
Toilet installations can seem straightforward, but common errors often arise, leading to costly repairs. This comprehensive guide is designed for both professionals and DIY enthusiasts in Toledo looking to navigate the toilet installation process seamlessly. We’ll walk you through understanding the intricate steps, assembling the necessary tools tailored for Toledo’s plumbing requirements, avoiding pitfalls that plague many DIY projects, and mastering leveling techniques for a perfect fit. By the end, ensure your new toilet is securely installed with proper connections, leaving you with a reliable and efficient fixture.
- Understanding the Toilet Installation Process: A Step-by-Step Guide
- Essential Tools Required for a Successful Toilet Installation in Toledo
- Common Mistakes to Avoid During DIY Toilet Installation
- Ensuring Proper Fit and Leveling Techniques for Your New Toilet
- Plumbing Connections and Final Checks Before Commissioning
Understanding the Toilet Installation Process: A Step-by-Step Guide

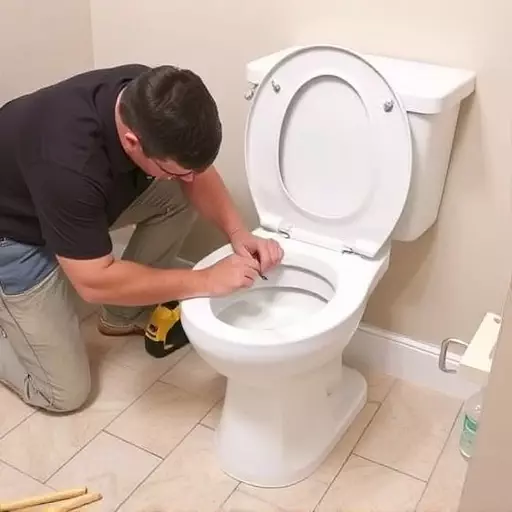
Toilet installation can seem daunting, but with a clear understanding of the process, it can be a manageable DIY project. The first step is to gather the necessary toilet installation tools Toledo like a new toilet, removal tools (pliers, wrenches), a replacement flange, and an adjustable level. Remove the old toilet by loosening the bolts securing it to the floor and lifting it out carefully. Next, inspect the existing drain pipe and floor to ensure they are in good condition for the new installation.

Proceed with leveling the new toilet by adjusting the legs or using shims under the base. Ensure the toilet is securely fastened to the floor with bolts. Attach the water supply lines according to the manufacturer’s instructions, connecting the cold and hot water lines to the appropriate inlets on the back of the toilet. Once the connections are secure, check for any leaks by turning on the water supply and inspect all joints and connections. Finally, replace the toilet lid and seat, ensuring a snug fit for a complete DIY toilet installation.
Essential Tools Required for a Successful Toilet Installation in Toledo
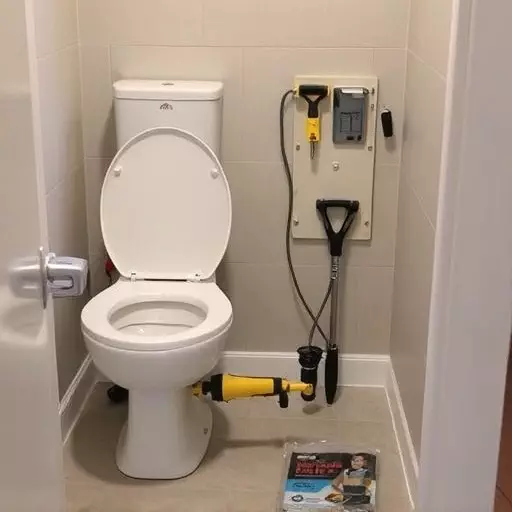
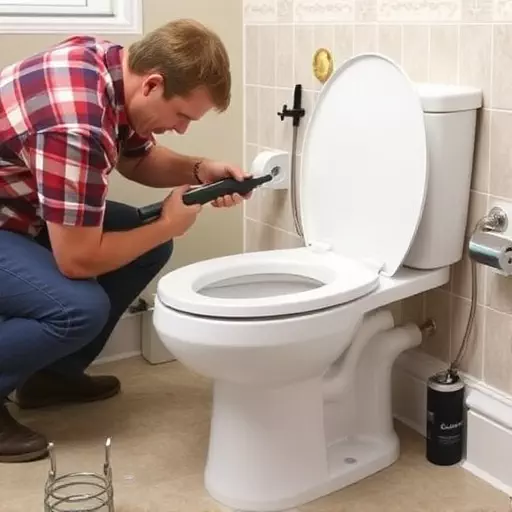
When it comes to a DIY toilet installation in Toledo, having the right tools is paramount for a successful and smooth process. Essential tools required include a level, a measuring tape, a plumb bob or a water level, wrenches (both open-end and adjustable), pliers, and a utility knife. These tools ensure precise measurements, proper alignment, and secure connections during installation.
Additionally, a toilet installation kit that includes all necessary parts like bolts, gaskets, and filler caps is crucial. Having these tools and supplies readily available can significantly reduce installation time and potential errors. Always double-check your toilet model and brand to ensure compatibility of the tools and parts before beginning the installation process.
Common Mistakes to Avoid During DIY Toilet Installation
When attempting a DIY toilet installation, it’s crucial to be aware of common mistakes that can lead to costly repairs or uncomfortable living conditions. One of the frequent errors is improper leveling, which results in an unsteady toilet base. Using the wrong tools for the job, like not having a level or bubble level, can cause misalignment and a poor finish. Always invest in quality Toilet Installation Tools Toledo to ensure accuracy throughout the process.
Another blunder is overlooking the water supply connections. Mistakes in this area can lead to leaks, damaging floors and walls. The toilet installation process demands precision when attaching the flushing mechanism and water lines. Rushing or not following proper plumbing guidelines increases the likelihood of errors, so take your time and double-check each step to avoid these DIY disasters.
Ensuring Proper Fit and Leveling Techniques for Your New Toilet

When installing a new toilet, ensuring proper fit and leveling is crucial for both functionality and aesthetics. The last thing you want is an uneven or poorly fitted toilet that can lead to leaks or discomfort during use. Utilize Toilet Installation Tools Toledo to achieve precision and accuracy throughout the DIY toilet installation process.
Leveling the toilet is a critical step that often gets overlooked by homeowners attempting a DIY toilet installation. A level toilet ensures water flows evenly and prevents damage to your bathroom floor. Use a spirit level or laser level to check the horizontal and vertical alignment of the toilet before securing it in place. This simple step will save you time, money, and potential headaches down the line.
Plumbing Connections and Final Checks Before Commissioning

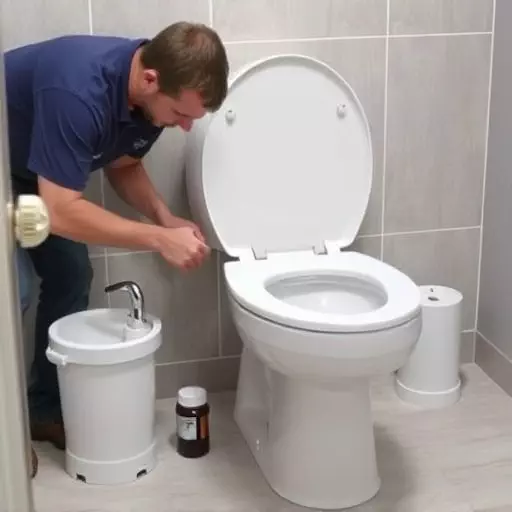
After successfully installing the toilet, it’s crucial to perform thorough plumbing connections and final checks before commissioning the fixture. This involves ensuring all pipes are securely connected, with no leaks at joints or fittings. Use the appropriate Toilet Installation Tools Toledo for tight seals, such as Teflon tape or silicone caulk, to prevent water damage.
DIY Toilet Installation enthusiasts should pay special attention to flushing mechanisms and fill valves. Double-check that the float is properly adjusted and the ballcock shuts off water flow at the correct level. Final checks also include verifying that the toilet’s overflow tube is positioned correctly and that all vents are open to allow for proper drainage and air circulation. Only after completing these steps should you turn on the water supply, flush the toilet for the first time, and confirm its seamless operation.