Looking to revolutionize your bathroom with a gravity-feed toilet? This comprehensive guide is your DIY companion. We’ll walk you through the entire process, from understanding the advanced gravity-feed system to final touches and testing. Equip yourself with the right Toilet Installation Tools Toledo and follow our simple steps for a smooth installation. Whether you’re a pro or a first-timer, this article ensures a confident and successful DIY Toilet Installation.
- Understanding the Gravity-Feed Toilet System
- Gathering the Necessary Toilet Installation Tools Toledo
- Preparations for DIY Toilet Installation
- Step-by-Step Toilet Installation Process
- Final Touches and Testing
Understanding the Gravity-Feed Toilet System

Gravity-feed toilet systems are a simple yet effective way to achieve efficient flushing without complex mechanisms. This traditional system relies on gravity and water pressure to transport waste away from the toilet bowl, making it a straightforward option for DIY toilet installation. Understanding this fundamental concept is crucial for anyone considering a toilet installation process using tools in Toledo or elsewhere.
The basic mechanics involve a water tank positioned above the toilet bowl, usually mounted on walls or securely anchored. Water flows into the tank and creates pressure when it’s flushed, forcing waste through a siphon tube connected to the bowl. This gravity-assisted flow ensures a strong and effective flush without requiring elaborate plumbing tools or expertise for installation, making DIY projects feasible.
Gathering the Necessary Toilet Installation Tools Toledo


Preparations for DIY Toilet Installation

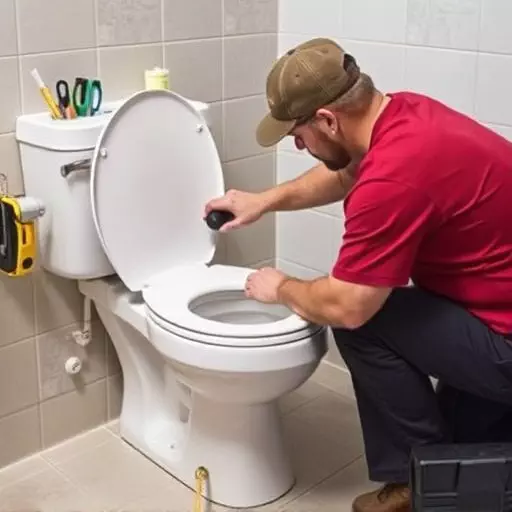
Before tackling a DIY toilet installation, ensure you have all the necessary tools and materials, including a new gravity-feed toilet, a wrench set, a level, plumbing supplies (like slip joints and couplings), and protective gear. The Toledo area offers various hardware stores where you can source these Toilet Installation Tools Toledo, making it easier to get started on your project. Familiarize yourself with the Toilet Installation Process by gathering all required components and understanding how they fit together.
Proper preparation includes assessing your existing plumbing setup and ensuring it aligns with the new toilet’s specifications. A level is crucial for installing the toilet squarely and ensuring a watertight seal. Plumbers tape and sealing compounds are essential to prevent leaks, so have them ready as you position the toilet and attach the necessary pipes. This DIY Toilet Installation process requires patience and attention to detail but can be accomplished with the right tools and thorough planning.
Step-by-Step Toilet Installation Process

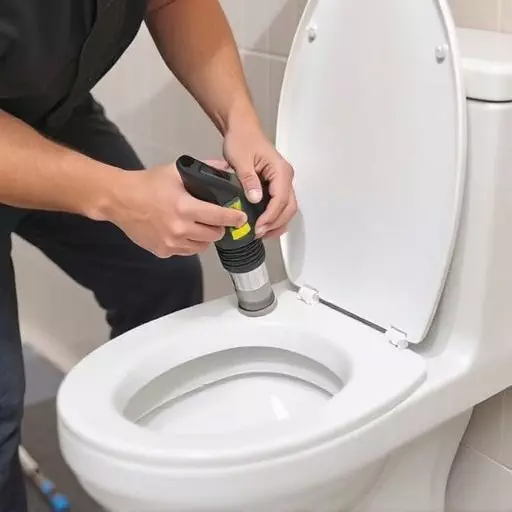
Installing a gravity-feed toilet is a relatively straightforward process that can be accomplished with the right tools and some basic DIY skills. First, gather all the necessary Toilet Installation Tools Toledo, ensuring you have everything needed for the job. This typically includes a new gravity-feed toilet, a wrench set, pliers, a screwdriver, and possibly a toilet brush and tank components if replacing an old one.
Begin by shutting off the water supply to the toilet. Next, remove the existing toilet by unscrewing any mounting hardware and carefully lifting it out of the floor. Once the old toilet is removed, clean the area thoroughly, ensuring no debris or remnants remain. Set the new gravity-feed toilet in place, aligning it correctly with the floor and plumbing connections. Secure it with brackets or screws as per manufacturer instructions. After confirming a level installation, reconnect the water supply lines to the toilet’s tank and ensure they are tightly secured. Finally, test the flushing mechanism, making any necessary adjustments for optimal performance. For DIY enthusiasts, this Toilet Installation Process can be a rewarding project, saving time and money while ensuring a functional and efficient bathroom fixture.
Final Touches and Testing

Once the gravity-feed toilet is securely in place and all connections are sealed, it’s time for the final touches and testing. Gather your Toilet Installation Tools Toledo to ensure a proper fit and seal. Adjust the float and fill valve as needed to achieve the correct water level. Test the flush mechanism by activating the lever to confirm smooth operation. Check for any leaks around the base of the toilet and the supply lines, tightening connections if necessary. For a DIY Toilet Installation, this step is crucial to ensure your new gravity-feed toilet functions optimally and efficiently.